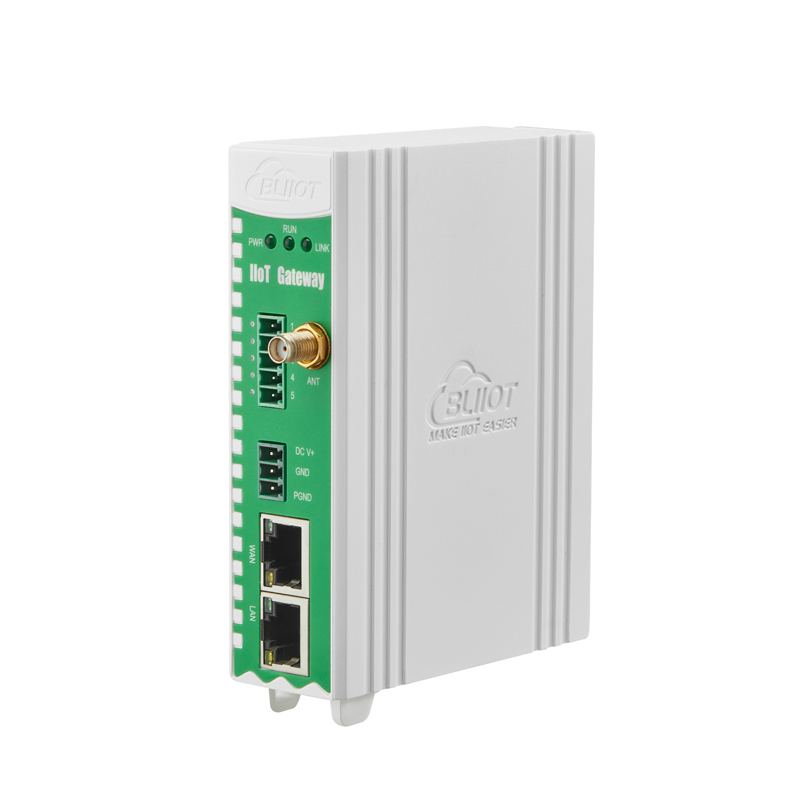
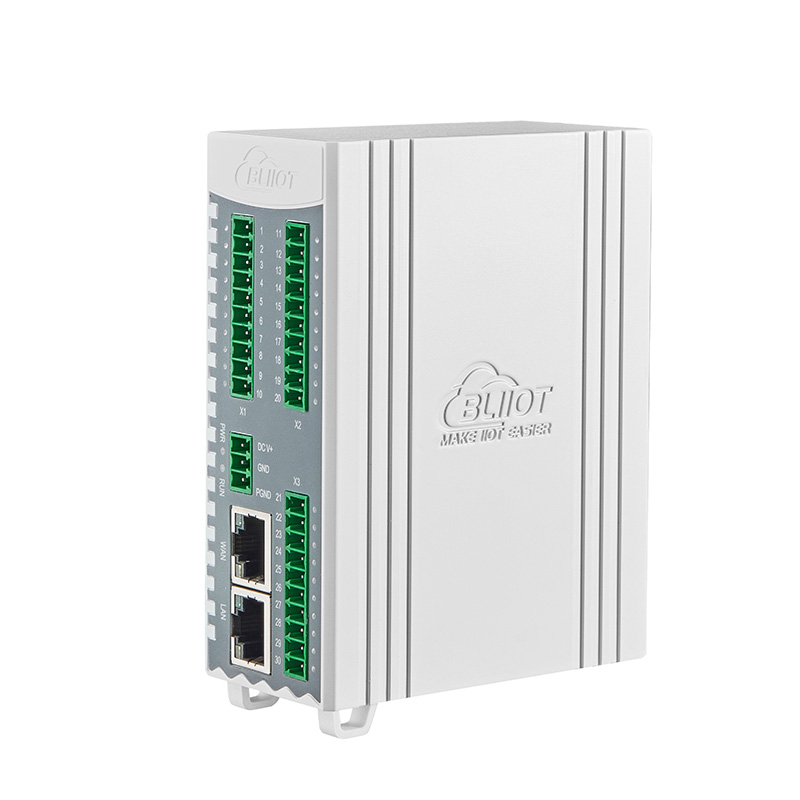

BLIIoT PLC IoT Gateway BL110 Application 50--How Add Watt-Hour Meter to COM Port And Collect Data
Adding Watt-Hour Meter to COM Port
Currently COM ports can only collect watt-hour meter with DL/T645 protocol. COM1 isRS232. COM2, COM3 and COM4 are RS485 ports. Below is example of collecting watt-hour meter data through COM2 as the meter has RS485 interface.
COM Port Configuration
Below is example of collecting watt-hour meter with DL/T645-2007 protocol through COM2.
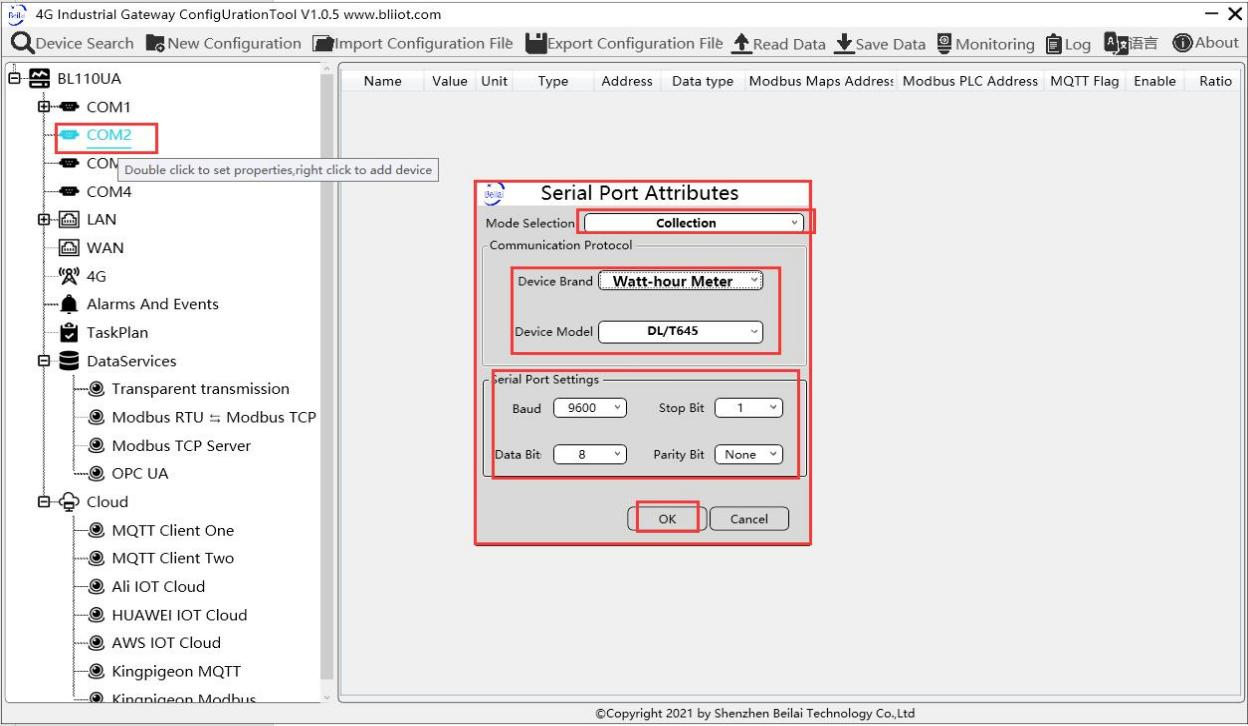
2.Select data collection Mode.
3.Select Watt-hour Meter as Device Brand and select DL/T645 as Device Model.
4.Follow Watt-hour Meter COM port parameters to set the same baud rate, stop bit, data bit and parity bit.
5.Click OK to confirm it.
Note: Click Save Data. COM2 port configuration will be effective after gateway restart automatically.
Add Watt-hour Meter to COM Port

2.Set Device Name at random like ammeter
3.Communication Address: put watt-hour meter communication address
4.Click OK to confirm adding watt-hour meter.
Note: After confirming configuration, ammeter icon will appear below COM2. To add more devices, follow the same steps 1-4 .
Note: Click Save Data. Gateway will restart automatically and adding watt-hour meter is effective.
Add COM Port Watt-hour Meter Datapoint

2.Set datapoint name, for example, Phase A Voltage.
3.Variable unit: Set any unit as required, can be blank.
4.Address Type: Select the address type of the meter. For example, Phase A Voltage.
5.Starting Address: N/A keep it blank.
6.Data Type: Select 32-bit single-precision floating data type.
7.Adding Qty: N/A keep it blank.
8.Read-write Type:Select from Read only.
9.Modbus Mapping Address: Input the address where the collected datapoint is saved in BL110. It can be any address from 0-2000 but can’t be repeated. For example, Phase A Voltage is saved in register address 17 of BL110.
10.MQTT Flag: can be any identification mark, but can’t be repeated. For example, set REG001 as the MQTT flag of datapoint Phase A voltage.
11.Click OK to confirm.
Note: After clicking OK to confirm the configuration, datapoints will appear in the box lik above picture. If more datapoints to be added, right click the box and click Add to enter datapoint configuration box, repeat Step 2-11
Note: Click Save Data. Gateway will restart automatically. After restarting, watt-hour meter datapoints are added successfully
If your required datapoint is not in the list, please contact BLIIoT after-sale service team.